Putting together 'Tiny Daisy' STT-LLM-TTS on an ESP32-S3
- Embedded systems , Gen ai
- December 4, 2025
Here we are. The final blog in this series. If you’ve been following along, we’ve built a video player with gyro rotation, dissected transformer architectures, trained a custom wake word detector, re-invented an embedding-based intent matching system because STT was too big, and squeezed a fine-tuned LLM with PIE assembly optimizations onto a chip with 8MB of RAM. Now comes the hard part: making all of these systems work together.
I’ll be honest with you-this was the part I was most nervous about and I procrastinated around this. Getting individual components working is one thing. Orchestrating them into a coherent experience while respecting brutal memory constraints? That’s a different beast entirely.
The Integration Challenge
Let me recap what we’re dealing with. By the time we reached this point, we had five distinct systems:
- Video Player (Blog 1: Video Badge with Gyro Rotation) - MJPEG playback with gyro-based display rotation
- LLM Inference (Blog 2: Deconstructing llama2.c) - Transformer-based text generation
- Wake Word Detection (Blog 3: Wake Word Detection) - Always-listening “Hey Daisy” trigger
- Intent Embeddings (Blog 4: Intent Embeddings) - Audio-to-intent similarity matching
- Fine-Tuned LLM + TTS (Blog 5: Fine-Tuned LLM with PIE Assembly) - Q8_0 quantized model with robotic speech
Each of these works beautifully in isolation. The problem? They can’t all fit in memory at the same time.
Let me show you the math that kept me up at night:
| Component | Memory Required |
|---|---|
| Video Buffer | ~1.2 MB |
| Embeddings DB | ~2.0 MB |
| ML Pool (wake word) | ~1.0 MB |
| LLM Model | ~7.4 MB |
| Total if loaded together | ~12 MB |
| Available PSRAM | 8 MB |
We’re ~4MB over budget. And that’s before accounting for any runtime buffers, the TFLite interpreter, or the Arduino framework overhead. Sounds stupid right? How do you ship something that can’t fit? I mean thats engineering, you take on impossible sounding things and find a way.
Introducing a simple State Machine Architecture
The answer, as it turns out, is that you don’t need everything loaded at once. The badge follows a linear interaction flow-you’re either playing the logo animation, listening for a wake word, processing a query, or generating a response. Never all at once.
This led me to design a state machine that explicitly manages which components are in memory at any given moment:
                    ┌─────────────────┐
                    │      BOOT       │
                    └────────┬────────┘
                             │
                    ┌────────▼────────┐
        ┌──────────►│   LOGO_LOOP     │◄──────────┐
        │           │ (wake word ON)  │           │
        │           └────────┬────────┘           │
        │                    │                    │
        │       wake word    │  5min idle         │
        │       detected     │                    │
        │                    │           ┌────────▼────────┐
        │                    │           │   DEEP_SLEEP    │
        │                    │           │  (BTN2 switch)  │
        │                    │           └─────────────────┘
        │                    │
        │           ┌────────▼────────┐
        │           │   RECORDING     │ 5 seconds
        │           └────────┬────────┘
        │                    │
        │           ┌────────▼────────┐
        │           │   EMBEDDING     │ Extract 256-dim vector
        │           └────────┬────────┘
        │                    │
        │           ┌────────▼────────┐
        │           │   SIMILARITY    │ vs 256 stored embeddings
        │           └────────┬────────┘
        │                    │
        │        ┌───────────┴───────────┐
        │        │                       │
        │   score >= 0.3            score < 0.3
        │        │                       │
        │  ┌─────▼─────┐          ┌──────▼──────┐
        │  │   LLM     │          │  TTS_SORRY  │
        │  │ INFERENCE │          │ "Couldn't   │
        │  │ Load 6MB  │          │  understand"│
        │  └─────┬─────┘          └──────┬──────┘
        │        │                       │
        │  ┌─────▼─────┐                 │
        │  │    TTS    │                 │
        │  │  OUTPUT   │                 │
        │  │Robot voice│                 │
        │  └─────┬─────┘                 │
        │        │                       │
        └────────┴───────────────────────┘
The states are defined in local_llm_badge/config.h:
enum BadgeState {
    STATE_BOOT,
    STATE_LOGO_LOOP,
    STATE_DEEP_SLEEP,
    STATE_RECORDING,
    STATE_EMBEDDING,
    STATE_SIMILARITY,
    STATE_LLM_INFERENCE,
    STATE_DISPLAY_RESPONSE,
    STATE_TTS_OUTPUT,
    STATE_STASH_DATA,
    STATE_TTS_SORRY
};
Each state knows exactly what resources it needs, and transitions explicitly handle loading and unloading.
The Memory Dance
This is the heart of the integration-the part that makes everything possible. I call it “The Memory Dance” because there’s a careful choreography to how we load and unload components.
The key thing: only one large model needs to be active at a time. During normal operation (LOGO_LOOP), we have:
| Component | Memory | Purpose |
|---|---|---|
| Video Buffer | ~1.2 MB | MJPEG frames in PSRAM |
| Embeddings DB | ~2.0 MB | 256 intent embeddings (256-dim each) |
| ML Pool | ~1.0 MB | Shared arena for wake word/audio encoder |
| Total | ~4.2 MB | Leaves room for runtime overhead |
When the wake word fires and we need to run LLM inference, we perform a complete swap:
// From local_llm_badge.ino - STATE_LLM_INFERENCE entry

// CRITICAL: Free everything possible to make room for LLM model (~7MB needed)
Serial.println("Freeing memory for LLM...");

// Free embeddings (~2MB)
embedSearch.end();
printPSRAM("after embed unload");

// Free ML pool (~1MB) - LLM doesn't use it
if (mlPool) {
    free(mlPool);
    mlPool = nullptr;
    Serial.println("Freed ML pool");
}

// Free video buffer (~1.2MB) - we only need display for text
video.unloadVideo();
printPSRAM("after video unload");

// Load LLM model
Serial.println("Loading LLM model...");
if (!llmInference.begin(nullptr, 0, LLM_MODEL_PATH, TOKENIZER_PATH)) {
    Serial.println("LLM init failed");
    // ... error handling
}
After LLM generation completes, we reverse the process:
// Unload LLM to free memory
llmInference.end();
printPSRAM("after LLM unload");

// Reload video buffer
Serial.println("Reloading video...");
if (!video.reloadVideo()) {
    Serial.println("WARNING: Failed to reload video!");
}
printPSRAM("after video reload");

// Reload embeddings now that LLM is unloaded
Serial.println("Reloading embeddings...");
if (!embedSearch.begin(EMBEDDINGS_PATH, INTENTS_PATH)) {
    Serial.println("WARNING: Failed to reload embeddings!");
}
printPSRAM("after embed reload");

// Reallocate ML pool for wake word / audio embed
if (!mlPool) {
    mlPool = (uint8_t*)ps_malloc(ML_POOL_SIZE);
}
printPSRAM("after pool realloc");
The idea here is that the SD card acts as our “swap space.” The video reloads from /media/logo.mjpeg, the embeddings reload from /data/embeddings.bin. It takes about a second to reload everything, which is acceptable latency after the user has already waited 60-90 seconds for LLM generation.
Here’s something I added just during the conference. I repurposed some unused GPIO pins as “mode switches.” By bridging specific pin pairs you can change the badge’s behavior:
// From config.h
// BTN1: Voice disable switch (bridging 13 & 11)
// When bridged: Logo loops forever, voice detection disabled
#define BTN1_OUT        13  // Output pin (always LOW)
#define BTN1_IN         11  // Input pin (PULLUP - reads LOW when bridged)

// BTN2: Deep sleep switch (bridging 12 & 14)
// When bridged: Enter deep sleep mode
#define BTN2_OUT        12  // Output pin (always LOW)
#define BTN2_IN         14  // Input pin (PULLUP - reads LOW when bridged)
Performance Timeline
Let me give you an idea on how long each phase takes. This was not properly measured, but I remember a bit as I was debugging this was a long time:
| Phase | Duration | Notes |
|---|---|---|
| Wake word detection | ~50ms per inference | Continuous, 400ms of audio per frame |
| Recording | 5 seconds | Configurable via JSON |
| Audio embedding extraction | ~500ms | Mel spectrogram + CNN inference |
| Similarity search | ~300ms | SIMD-accelerated cosine similarity |
| Memory swap (for LLM) | ~1-2s | Unload video/embeddings, load LLM |
| LLM generation (128 tokens) | ~5-10 seconds | Depends on response length |
| Memory swap (after LLM) | ~1 second | Reload video/embeddings from SD |
| TTS synthesis | 2-4 seconds | Depends on response length |
| Total interaction | ~15-20 seconds | From wake word to speech output |
Yeah, it’s not fast. But remember what this is: a 6 million parameter language model running entirely on a microcontroller with 8MB of RAM. No cloud. No WiFi required. The entire interaction happens locally on a device you can hang around your neck.
As covered in Blog 5: Fine-Tuned LLM with PIE Assembly, the PIE assembly optimizations give us about 7 tokens per second. That’s actually pretty good for on-device inference!
The Main Loop
Here’s the complete main loop that ties everything together. It’s surprisingly clean thanks to the state machine abstraction:
void loop() {
    // Check mode switches first
    // BTN2: Deep sleep when bridged
    if (isBTN2Bridged()) {
        enterDeepSleep();
        // Won't reach here - ESP will reset on wake
    }

    // BTN1: Voice disable - check and update flag
    bool btn1State = isBTN1Bridged();
    if (btn1State != voiceDisabled) {
        voiceDisabled = btn1State;
        if (voiceDisabled) {
            Serial.println("BTN1: Voice DISABLED");
            if (wakeWordActive) {
                wakeWord.end();
                micStream.end();
                wakeWordActive = false;
            }
        } else {
            Serial.println("BTN1: Voice ENABLED");
        }
    }

    // State-specific handling
    switch (currentState) {
        case STATE_BOOT:
            setState(STATE_LOGO_LOOP);
            break;

        case STATE_LOGO_LOOP:
            handleLogoLoop();
            break;

        case STATE_RECORDING:
            handleRecording();
            break;

        case STATE_EMBEDDING:
            handleEmbedding();
            break;

        case STATE_SIMILARITY:
            handleSimilarity();
            break;

        case STATE_LLM_INFERENCE:
            handleLLMInference();
            break;

        case STATE_TTS_SORRY:
            handleTtsSorry();
            break;

        case STATE_TTS_OUTPUT:
            handleTtsOutput();
            break;

        case STATE_DISPLAY_RESPONSE:
            handleDisplayResponse();
            break;

        case STATE_DEEP_SLEEP:
        case STATE_STASH_DATA:
            // Not implemented yet - return to logo
            setState(STATE_LOGO_LOOP);
            break;
    }
}
Each handle*() function encapsulates the logic for its state, including when to transition to the next state. This keeps the main loop readable and makes debugging much easier.
Lessons Learned
Just don’t do this again in your ESP32-S3, it has a nice WiFi and bluetooth, just using third party service, only do a good wake word thing, put everything else in the cloud. Its better than spending days figuring all of this out.
What’s Next
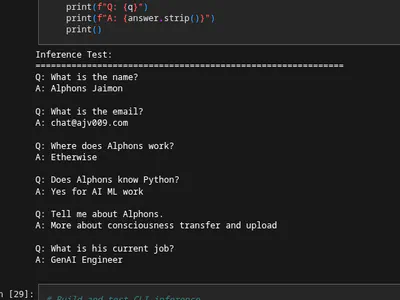
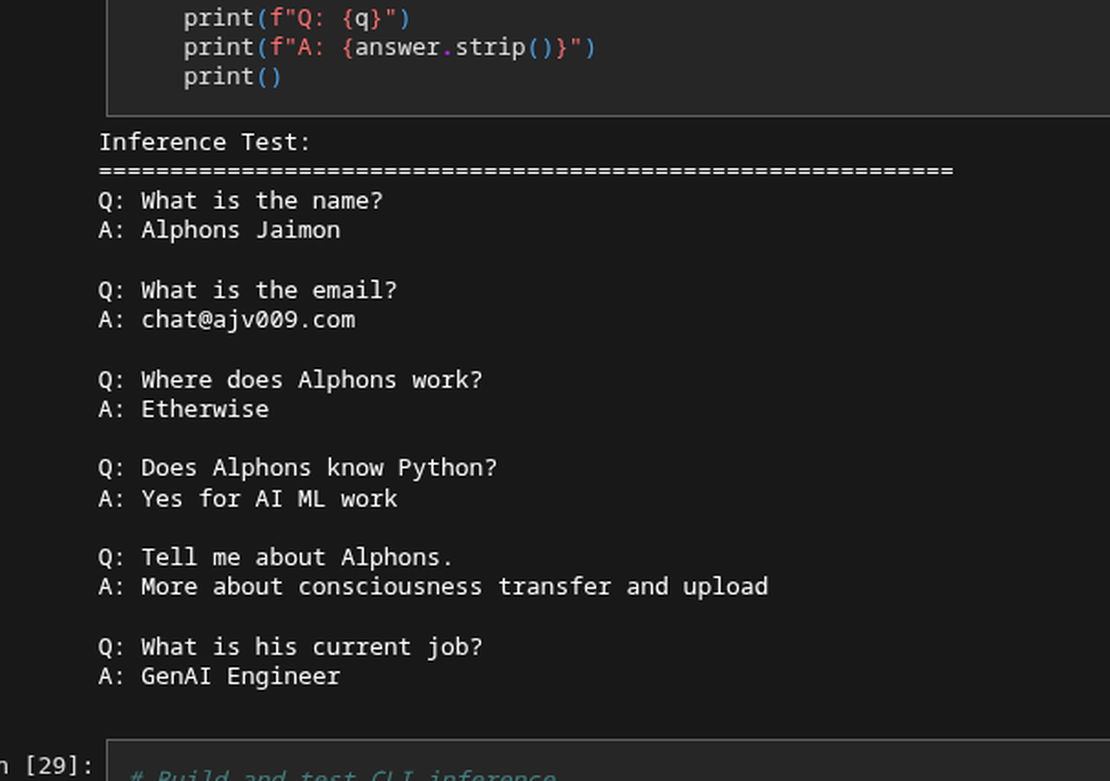
The badge works! It detects the wake word, extracts embeddings, somewhat matches the intent, runs the fine-tuned LLM, and finally speaks the response. All on a battery-powered device hanging from a lanyard.
But there’s more I want to do:
- WiFi model updates - Download new LLM or embedding models over WiFi
- Stash upload - Send unrecognized queries to a server for analysis
- Online Learning - Use modern big AI models to evaluate, analyze and auto align the new found data. Then have a training loop that updates the model on a remote server, which I can import and use as needed here
These are documented in the original plan at workbench/docs/OAISYS_BADGE_PLAN.md as Phases 7 and 8. Maybe there will be a Blog 7 someday, if I suddenly find some motivation to do it. For now, I’m happy that this works at all. When I started this project, I genuinely wasn’t sure if fitting a useful LLM on an ESP32 was possible. It is. And it’s surprisingly usable. The complete firmware lives in local_llm_badge/. If you want to build your own, all the code is there. The state machine is in local_llm_badge.ino, the pin definitions are in config.h, and the individual components are organized under src/.
Thanks for following along on this journey. Its just a quirky fun thing to do…